A Note From The Home Depot
Replacing your shower head can seem intimidating, but it doesn’t have to be! Follow along as Alexi Parry of Seeking Alexi takes you through 5 simple steps to replacing your shower head with a new Moen Magnetix model.
Has anyone else been kind of terrified to replace their shower head? Before I replaced my first shower head, I thought it was going to be sooo hard because well, #plumbing. But I can honestly say that replacing a shower head is extremely simple! Today I’m going to show you just how simple it is…
And not only that, I’m going to show you how you can transform a space with just a few updates! Today we are highlighting this beautiful, new Moen shower head. Combine that with a little subway tile and you’ve got a magic combo!
Especially when you see this before photo of the shower head that was in The Beam House before we replaced it. (See more of what we’ve done at #thebeamhousereno) The clip was broken so it wouldn’t even stay in place! So this Moen shower head was a heaven-send.
Before:

Isn’t this just an awful before photo?! Need guidance on dealing with formica / solid state / acrylic shower surrounds? Read about what to do over here! (You will not believe what the rest of the bathroom looked like before.)
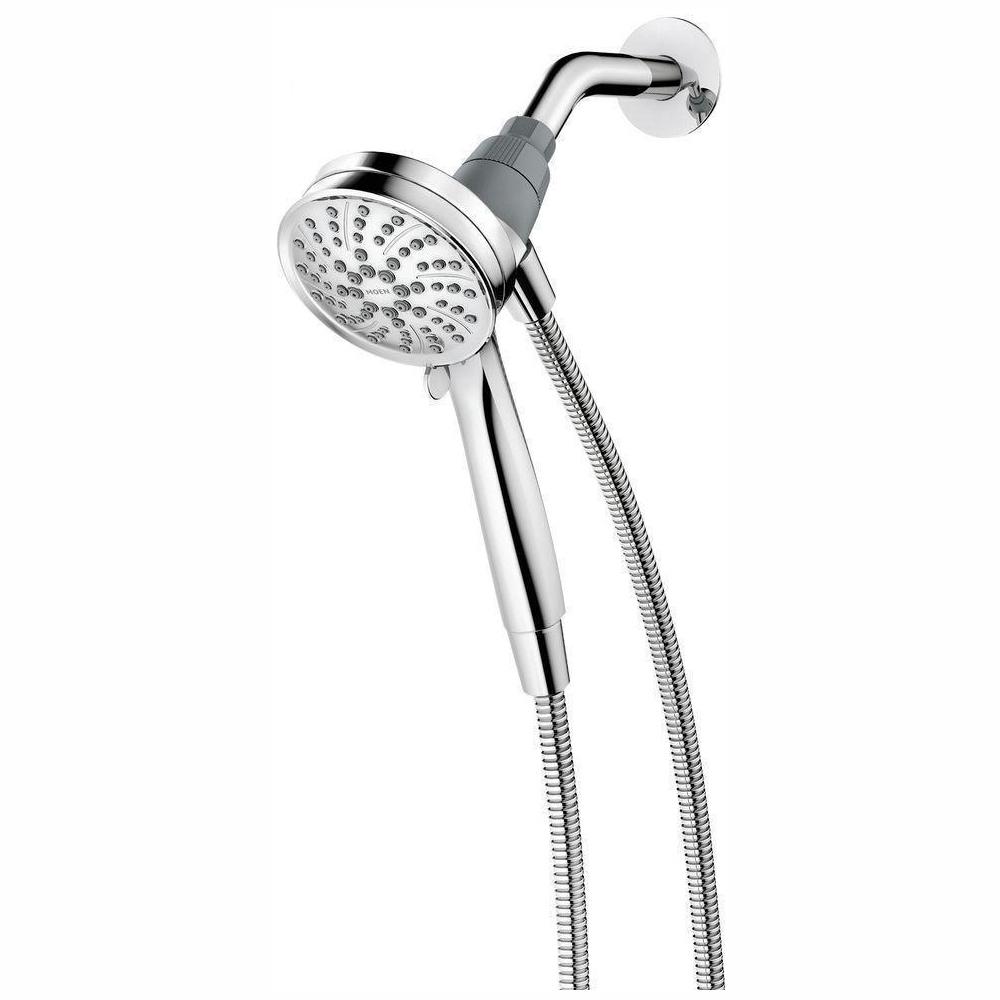
After:

What a transformation, right?? I agree! If your bathroom is as bad as mine was at The Beam House, stripping it down to the studs and tiling takes a long time, but the FASTEST part was adding this shiny new shower head. This bathroom feels brand-spanking new with that sparkly chrome against the clean white!
Okay, let’s show you how to do it.
Step 1: Remove Old Shower Head.
To do this, you just have to find a way to muscle it off! It might have some hard-water stains that make it tricky, but it just needs to be unscrewed.


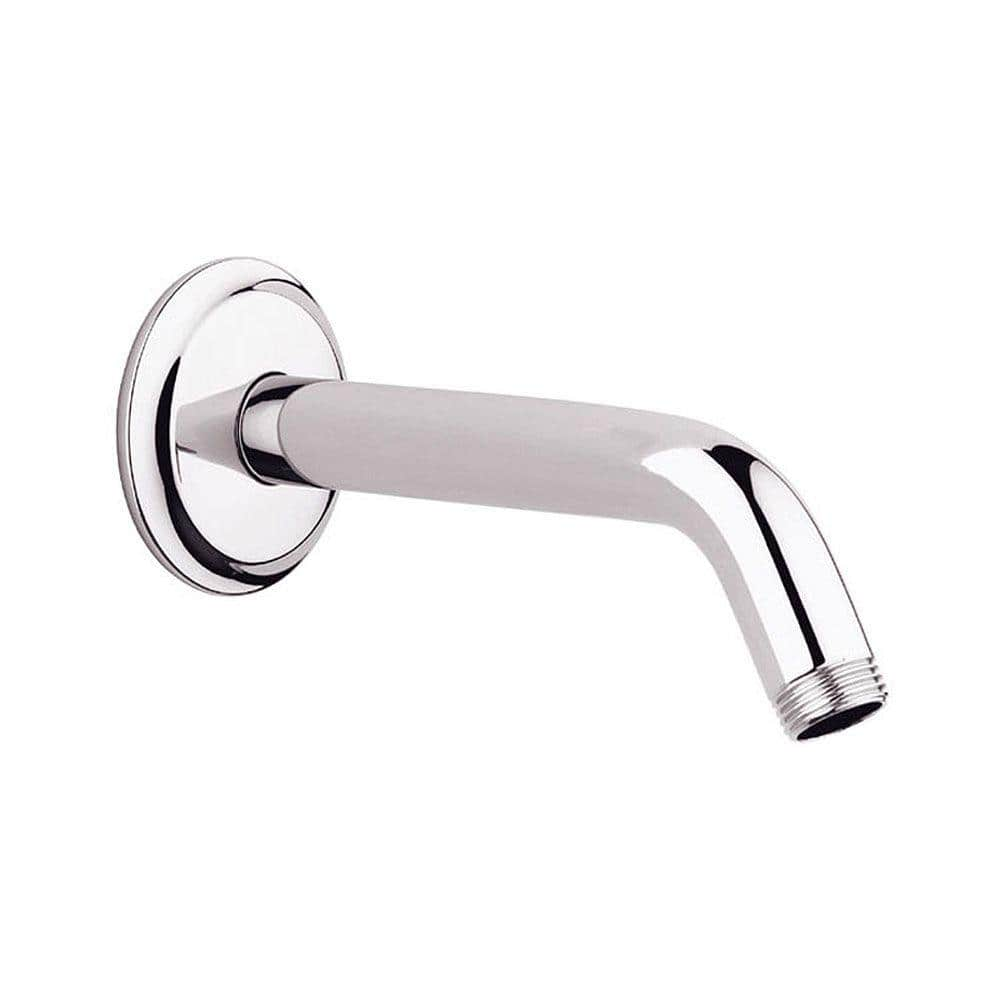
Step 2 (Optional): Replace Shower Arm.
My shower arm was old and damaged, so I opted to add a new one. To do so, add some Plumber’s Tape on the threads, and screw it in by hand as tight as you can. Then, wrap a cotton rag around the arm, so you don’t scratch it, and tighten it further with a wrench. Then add the supporting arm base to cover where it comes out of the wall.

Step 3: Screw on the New Shower Base.
This part is pretty easy, just screw it in by hand. Don’t over-tighten, it, though!


Step 4: Screw in Hose.
Screw the supplied hose to the shower head and then to the shower base; make sure the black, plastic nut is in each side first. You also screw these in by hand.
Step 5: Turn On Water and Check for Leaks.
If there are leaks, tighten it a little more and you should be good to go!


That’s all! See how easy it is to update your shower head? Like I mentioned, it was the simplest part of my whole bathroom renovation! #thebeamhousereno Thanks for reading this tutorial, I hope it was helpful!
Update other areas of your home with the help of The Home Depot. Find more products from the Moen Magnetix line here.